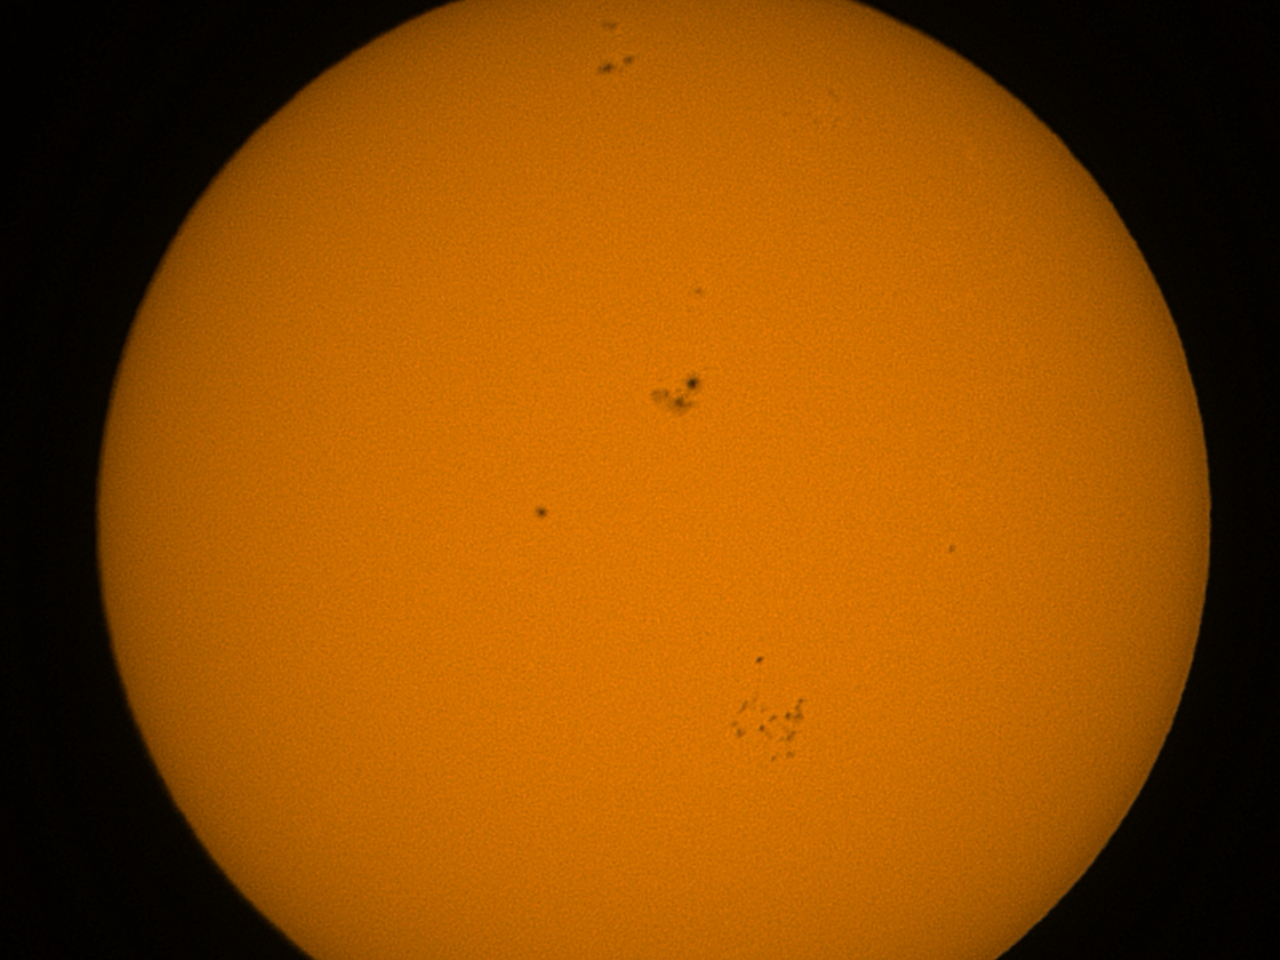
Photographing a Solar Transit
The transit of a planet or artificial object across the sun is a fascinating astronomical event that offers a unique opportunity for photography enthusiasts. Capturing this phenomenon requires careful planning, specialized equipment, and a good dose of patience. In this article, we’ll explore the steps required to photograph a transit across the sun safely and effectively.
1. Preparation
First of all, it’s important to find out the dates and times of the transits of the planets you want to photograph. This information can be easily found online or through specialized apps. For my experiment (ISS transit), I used this site Once you’ve identified the date of the transit, you need to find a suitable location to observe the phenomenon. Choose a spot with good visibility of the sun and no obstructions such as trees or buildings.
2. Equipment
To photograph a transit in front of the sun, you need specialized equipment to protect your eyes and camera from damage caused by the sun’s rays. Here’s what you’ll need:
- A solar filter: Use a solar filter specifically designed for solar photography to protect your camera and eyes from the sun’s harmful rays. Be sure to purchase a high-quality filter from a reputable manufacturer.
- A telescope or telephoto lens: To magnify the image of the sun and capture the details of the transit, it’s recommended to use a telescope or telephoto lens. Make sure you have an adapter to connect your camera to the telescope or lens.
- A tripod: To avoid blurring when taking photos, it is advisable to use a tripod to stabilize the camera.
- In this test I used my “smart telescope” ZWO SeeStar S50, featuring a 50mm diameter and a 250mm focal length. This instrument incorporates a computerized alt-az mount for automatic tracking of celestial bodies, and acquires images thanks to a Sony IMX462 CCD sensor. It comes with an appropriate solar filter. Everything is managed via a proprietary app available for both iOS and Android.
3. Safety
Solar photography can be dangerous if you don’t take the right precautions. Here are some tips to ensure your safety when photographing a transit in front of the sun:
- Wear protective eyewear: Use specialized protective eyewear to observe the sun safely. Never look directly at the sun through your camera’s viewfinder.
- Protect your camera: Be sure to use a high-quality solar filter to protect your camera from damage caused by the sun’s rays. Never remove the filter while photographing.
- Avoid looking at the sun through the viewfinder: Use your camera’s live view function to compose your image and adjust settings.
4. Photography Technique
Once you’ve planned, prepared your equipment, and ensured your safety, it’s time to start photographing the transit in front of the sun. Here are some tips for best results:
- Use a fast shutter speed: To avoid blurring during photography, set a fast shutter speed. This will allow you to capture the transit details clearly.
- Adjust the exposure: The sun is a very bright light source, so you may need to adjust the exposure to avoid overexposure. Use your camera’s manual exposure function for best results.
- Experiment with different settings: Try different aperture, ISO, and white balance settings to achieve creative and interesting effects.
5. Conclusion
Photographing a transit in front of the sun can be an exciting and rewarding experience for photography enthusiasts. However, it’s important to remember to take the right precautions to ensure your safety and that of your equipment. Follow the steps in this article and you’ll be ready to capture spectacular images of planetary transits in front of the sun. Happy photography!
Here you can see the result of transit of the space station in front of the sun (observing the lower part of the sun):
